 EN


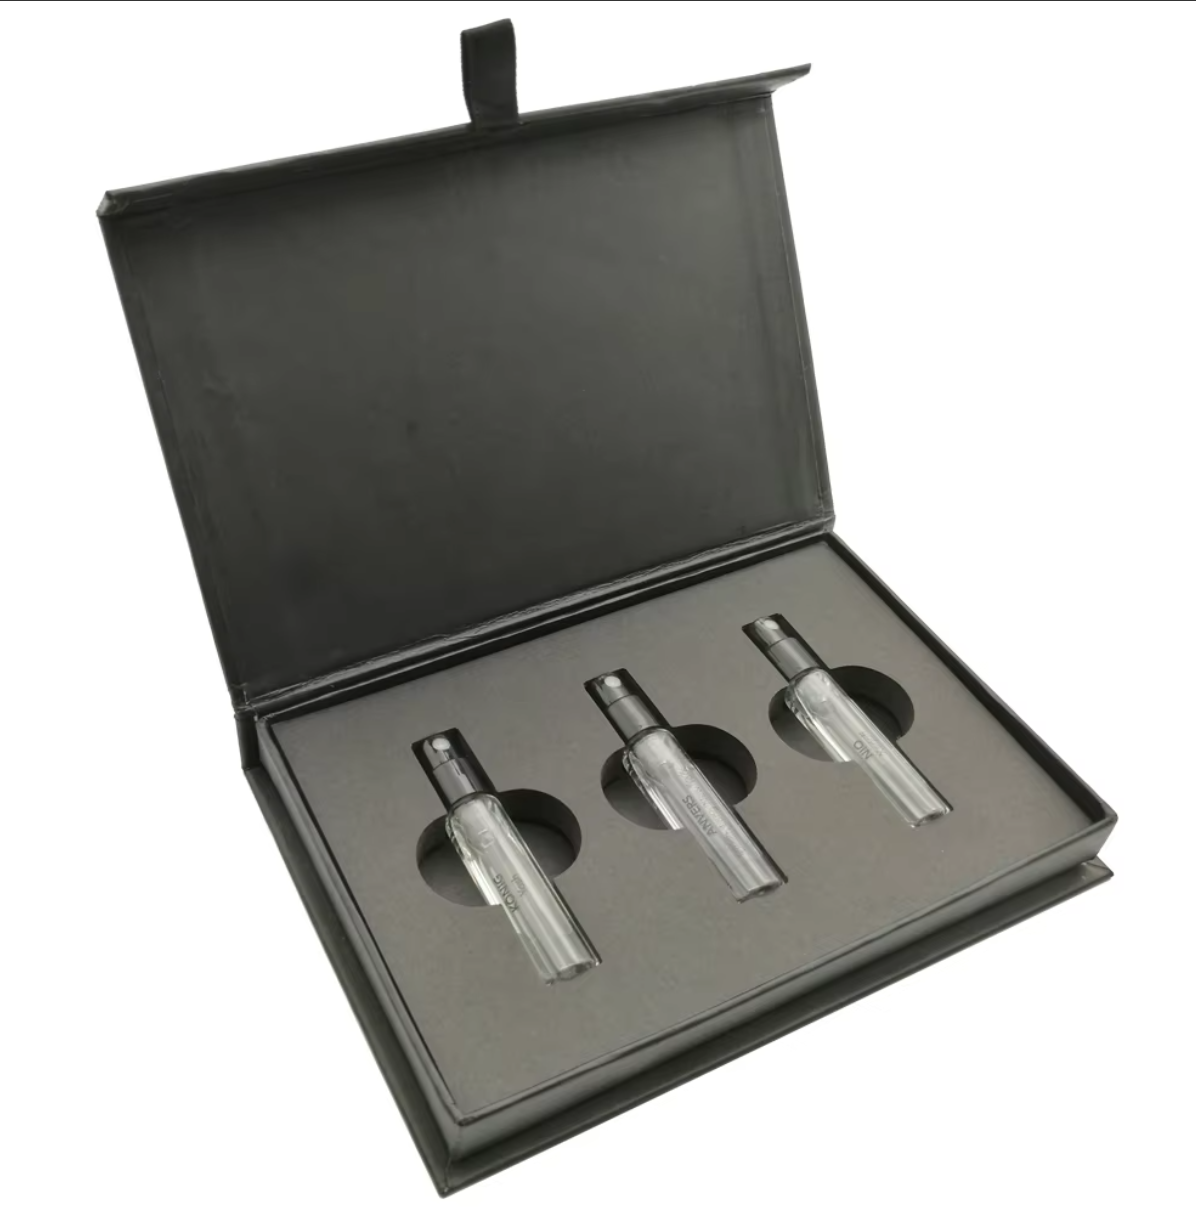
A magnetic closure box looks simple: a rigid base, a hinged lid, and a pair of concealed magnets that pull the two together. Yet behind that simple impression sits a small engineering puzzle. If the board is a fraction too thick, the lid will not seat. If the magnet sits a fraction too deep, the closure will not hold. The only reliable way to catch these problems before they become expensive is 3D prototyping.
This article explains why magnetic closure boxes are so sensitive to design errors, what those errors typically look like, and how 3D prototyping turns a static drawing into a testable object that lets you fix problems while they are still cheap.
What Is 3D Prototyping, Exactly?
3D prototyping is the process of building a physical, three-dimensional model of a packaging structure from your digital design. Unlike a flat drawing or a render, a prototype can be folded, closed, opened, and handled. It reveals how materials behave, how components interact, and how the finished box will actually feel.
For rigid packaging, 3D prototyping usually produces a cut-and-creased structure assembled by hand with the intended board and wrap. It is not a marketing mock-up; it is a functional test article. That distinction matters, because the errors we are trying to eliminate only appear when the geometry is real.
Why Magnetic Closure Boxes Are Especially Error-Prone
Fold-over and tuck-end cartons have forgiving geometry. A magnetic closure box does not. Two rigid halves must meet along a hinge, compress a pair of magnets, and release with a controlled snap. Every dimension interacts with every other dimension, so a small error in one place becomes a visible defect in another.
Consider the lid-to-base clearance. If it is too generous, the box rattles and feels cheap. If it is too tight, the magnets fight the hinge and the lid refuses to close. The correct value depends on board caliper, wrap thickness, and the strength of the magnets — three variables that must be balanced simultaneously. This is exactly the kind of multi-variable problem 3D prototyping is designed to solve.
The Most Common Design Errors in Magnetic Closure Boxes
Wall Thickness and Board Caliper
Designers working on screen often specify a wall thickness without accounting for wrapped board. A 2mm grayboard wrapped in a 0.15mm paper becomes a wall closer to 2.3mm. Because that extra thickness appears on both faces, the internal cavity shrinks by nearly half a millimeter. 3D prototyping exposes that shrinkage immediately, before the dieline is finalized.
Magnet Depth and Polarity
Magnetic closures require two magnets or a magnet and a steel plate, set at a consistent depth and correct polarity. If the recess is too deep, the magnetic pull drops and the lid will not hold; if it is too shallow, the lid will not close flush. Reversed polarity produces the same symptom as a weak magnet. A prototype lets you test the pull by hand and confirm the depth on the physical part.
Lid-to-Base Clearance
The working gap between lid and base determines both the fit and the feel. Too much clearance and the box feels loose and unfinished; too little and the wrap scrapes as the box opens. 3D prototyping allows us to dial this gap in against real materials rather than estimating it, which is why the finished closure feels deliberate rather than accidental.
Crease and Hinge Geometry
The hinge is the hardest-working line in the entire box. It must fold cleanly, survive repeated opening, and hold the lid in alignment. A crease that is too shallow will crack the printed surface; one that is too deep will split the board. 3D prototyping reveals how the hinge behaves after twenty open-and-close cycles, something no flat file can show.
Wrap and Print Registration
Magnetic boxes are usually wrapped in printed paper or specialty stock. If the box dimensions drift even slightly, the printed artwork will not register correctly across the edges. Because the wrap is applied after forming, any structural error becomes a visual error. 3D prototyping lets us wrap a real sample and confirm registration before production.
From Screen to Sample: How the Workflow Runs
A typical project starts with your artwork and a short brief covering dimensions, materials, and finishes. Our engineers convert that into a structural layout, choosing board caliper and hinge type based on the box's function. Within a day, we can produce a physical prototype for you to evaluate.
You then handle the prototype exactly as your customer would: open it, close it, feel the magnet engage, examine the corners under raking light. Feedback returns to the structural file, and we iterate. Each round of 3D prototyping narrows the gap between intent and outcome until the sample and the drawing agree.
Why 3D Prototyping Beats Flat Drawings and Renders
Flat drawings describe geometry in two dimensions, and renders describe it in light. Neither can tell you how a magnet feels when it engages or whether a wrapped corner will buckle. Screens also hide caliper: a wall that looks elegant at 100 percent zoom may be physically impossible at the specified board thickness.
Prototyping closes that gap by making the invisible visible. It converts an abstract specification into something you can weigh, bend, and stress. For a product category defined by tactile quality, that is not a nice-to-have — it is the only honest way to evaluate a design before committing to tooling.
Where Material Behavior Outruns Simulation
Digital simulation is a powerful tool, and we use it where it helps. But packaging materials behave in ways that models struggle to capture: coated paper stretches under glue, grayboard absorbs moisture and swells, and embossing compresses fibers unevenly. These are the variables that most often cause late-stage surprises.
Physical prototyping captures all of them at once, because it uses the real materials under real conditions. When our prototype and your expectation diverge, we learn something a simulation would have missed. That lesson is then carried into production planning, which is how prototyping reduces risk long after the sample stage is over.
The Cost and Time Savings of Catching Errors Early
Every design error has a price, and that price rises sharply the later it is discovered. A flaw found during 3D prototyping might cost a revised dieline and one extra sample. The same flaw discovered after die manufacturing means new tooling, a scrapped batch, and a delayed launch.
When you add up rework, freight, and the value of a lost retail window, the return on a single prototype is enormous. 3D prototyping is not an expense layered on top of production; it is the mechanism that prevents the far larger expenses that follow a preventable mistake.
How 3D Prototyping Improves Communication
Words rarely settle design debates. "The lid should feel firm" means different things to different people, and email threads cannot resolve the ambiguity. A physical prototype ends the discussion in seconds, because everyone is reacting to the same object.
This is especially valuable across time zones and disciplines. Your brand team, your engineer, and our production floor can all examine one sample and agree on what "correct" looks like. 3D prototyping therefore does double duty: it validates the design and aligns the team behind it.
A More Sustainable Way to Design
Prototyping also has an environmental logic. A prototype consumes a few sheets of board; a scrapped production batch consumes thousands. By resolving errors while they are still small, 3D prototyping reduces material waste, energy use, and the emissions associated with remanufacturing.
We pair this approach with recyclable and responsibly sourced stock wherever the design allows. The goal is packaging that earns its premium through durability and craft rather than through excess material. Prototyping is one of the earliest places where that principle is put into practice.
Choosing a Partner Who Prototypes Properly
Not every supplier treats prototyping as engineering. Ask what a sample will actually include: real materials or stand-ins, functional magnets or dummies, wrapped corners or bare board? The answers reveal whether the sample is a genuine test article or a sales prop.
It also helps to ask how many iterations are included and how quickly they run. A partner who treats 3D prototyping as a routine, fast step will help you reach a production-ready design with confidence. Explore our luxury packaging box range to see the structures we build, or visit our about us page to meet the team behind the samples.
The Bottom Line
Magnetic closure boxes are unforgiving of small mistakes, and small mistakes are exactly what flat files tend to hide. Wall caliper, magnet depth, clearance, hinge geometry, and print registration all interact, so the design must be tested as a whole rather than approved in parts.
3D prototyping is the most reliable way to do that. It catches errors at the cheapest possible moment, aligns your team around a shared object, and turns a risky first production run into a confident one. If a box has to close perfectly every time, build it in three dimensions before you build it in thousands.
Table of Contents
- What Is 3D Prototyping, Exactly?
- Why Magnetic Closure Boxes Are Especially Error-Prone
- The Most Common Design Errors in Magnetic Closure Boxes
- From Screen to Sample: How the Workflow Runs
- Why 3D Prototyping Beats Flat Drawings and Renders
- Where Material Behavior Outruns Simulation
- The Cost and Time Savings of Catching Errors Early
- How 3D Prototyping Improves Communication
- A More Sustainable Way to Design
- Choosing a Partner Who Prototypes Properly
- The Bottom Line

